
How Mosaic Tables Are Made
Every mosaic table is made to order and exists only once. Each piece of stone or glass is cut and set by hand, resulting in a single piece for your home, your office or as a gift.
Step by step
1. Design
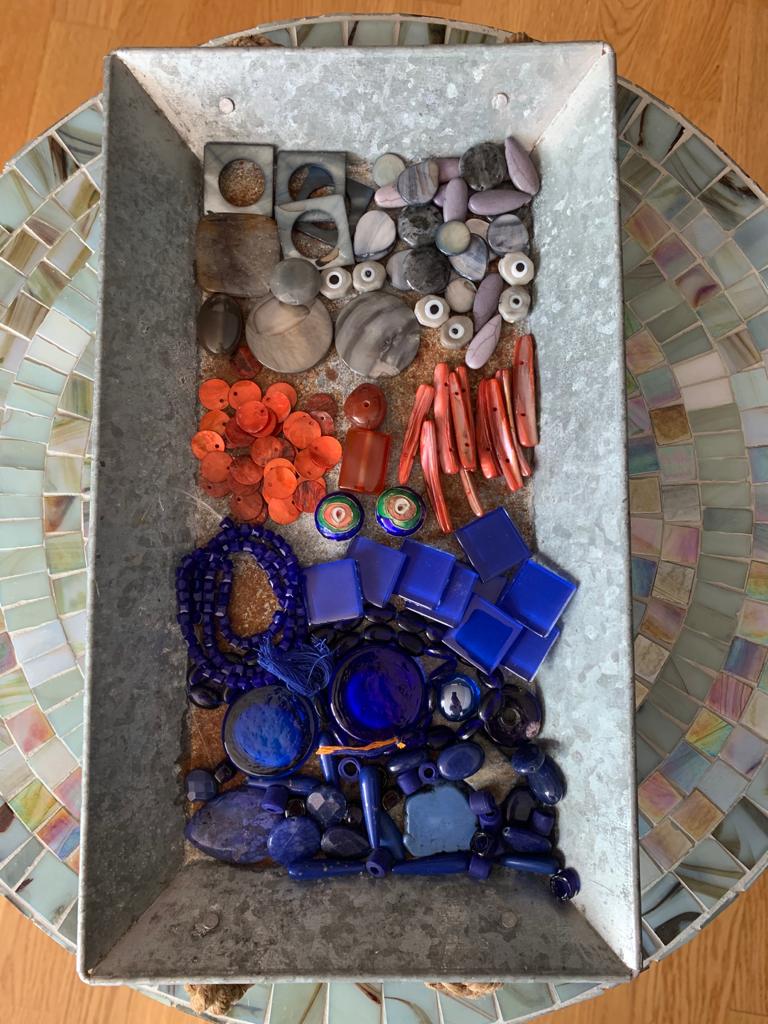
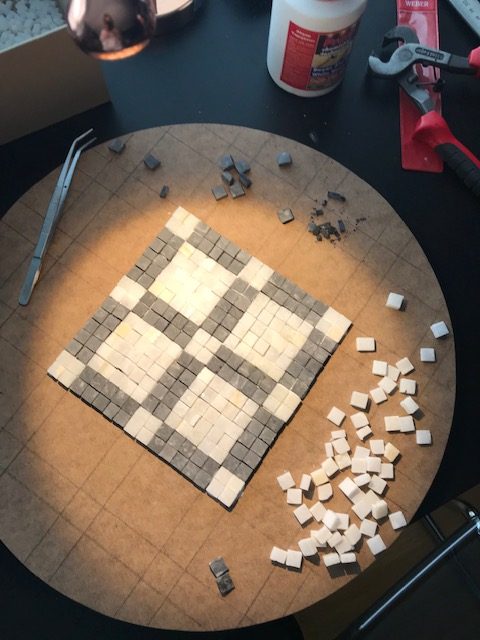
We agree the space, size and colours, then draw the pattern on paper. For geometric patterns the repeating module is first tried out dry.
2. Material and cutting
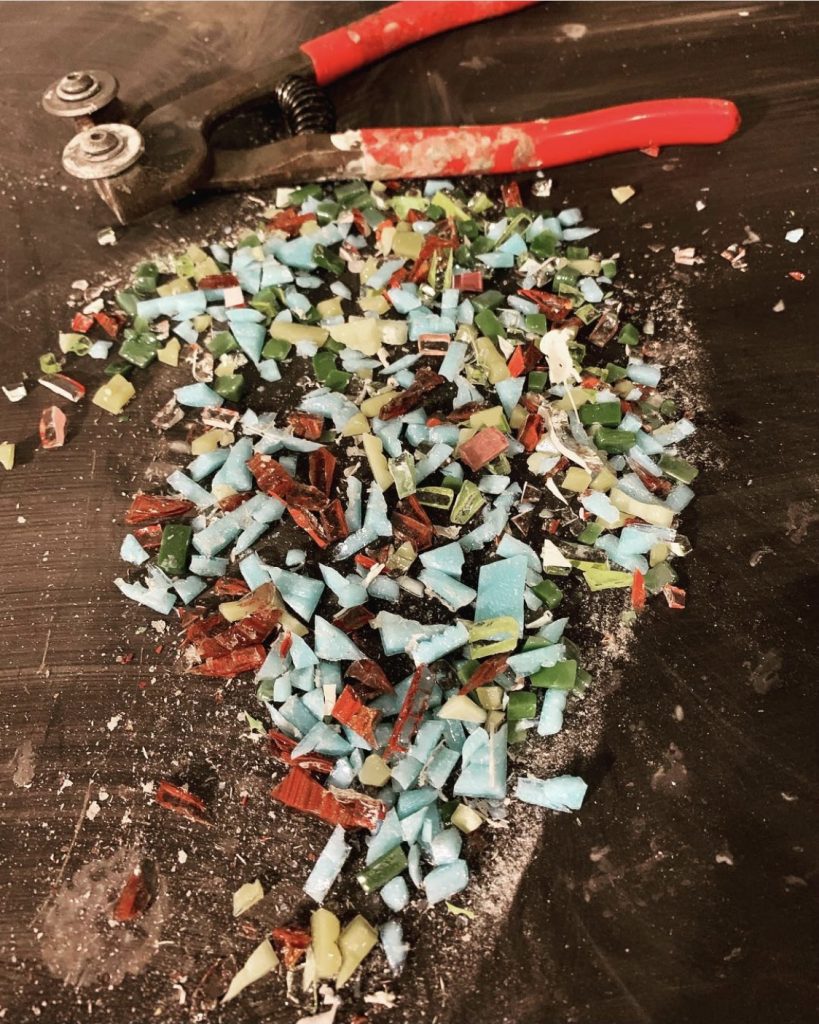
Glass mosaic, marble or natural stone pieces are sorted by colour. Edge and curve pieces are cut one by one with mosaic nippers to fit the top.
3. Setting
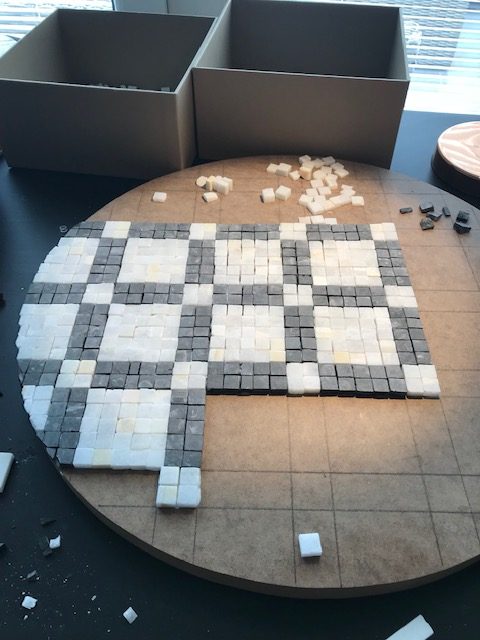
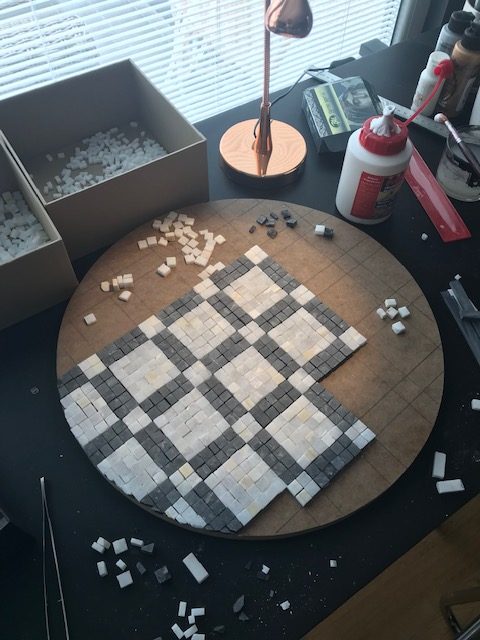
The pattern is set from the centre outwards, row by row. Keeping the gaps even everywhere decides how clean the finished table looks.

4. Grout and cleaning
Once the adhesive has cured, the gaps are filled with grout, the excess is wiped off and the surface is polished. Natural stone tops are sealed against stains.


5. Base and final check
The top is fixed to the chosen metal or wooden base and given a final clean. We follow one table through the whole process in the making of a checkerboard table.
Frequently asked questions
A mosaic top made with the right adhesive and grout lasts for many years. On natural stone tops, renewing the sealant over time is recommended.
Glass mosaic, marble and natural stone pieces, mosaic nippers, a suitable adhesive, grout and a sealant for natural stone.
Checkerboard and ring patterns made with square pieces. Curved flowers and angled stars need more cutting and experience.
Let’s design your table together
Size, colours and pattern are chosen with you, and your table is made as a single piece in our Istanbul studio. Send a photo of your space and the size you have in mind.